Scout Trooper – Gloves – Minor Mod

Let’s Make These More Screen Accurate…

Sleekness counts…

The CRL states there should be “no flare”…

However, with the “zipper” area as is, the little flap things tend to “flare” while the Gloves are worn…

To fix this, I’ll be adding some small “tack” stitches into the existing stitch line…

This seems to fix the issue…

Both Gloves, now fully completed…

Scout Trooper – Gloves – Reconstruction, Continued

Let’s Make These Screen Accurate…

Almost there…

Finalizing the liner install…

Adding HeatBond to the wrist area…

The HeatBond cooling…

The liner after being HeatBonded to the outer Glove…

To help with the edge hem, I cut another thin strip of HeatBond…

And then folded the hem over, and pressed it to activate the adhesive…

Then, it got a nice tight edge stitch…

Now, to repeat the process for the front part of the liner…

HeatBond applied…

The liner then pressed adhering it to the Glove…

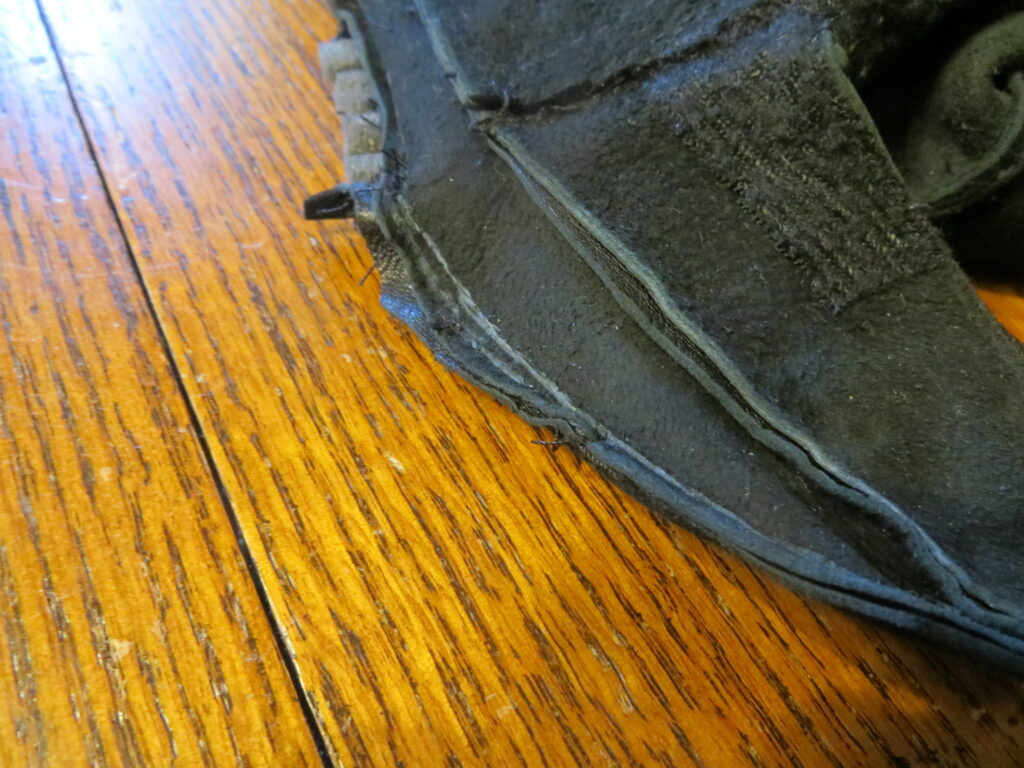
The area, then prepped for the finishing hem…

HeatBond applied…

Hem folded, pressed, and sewn…

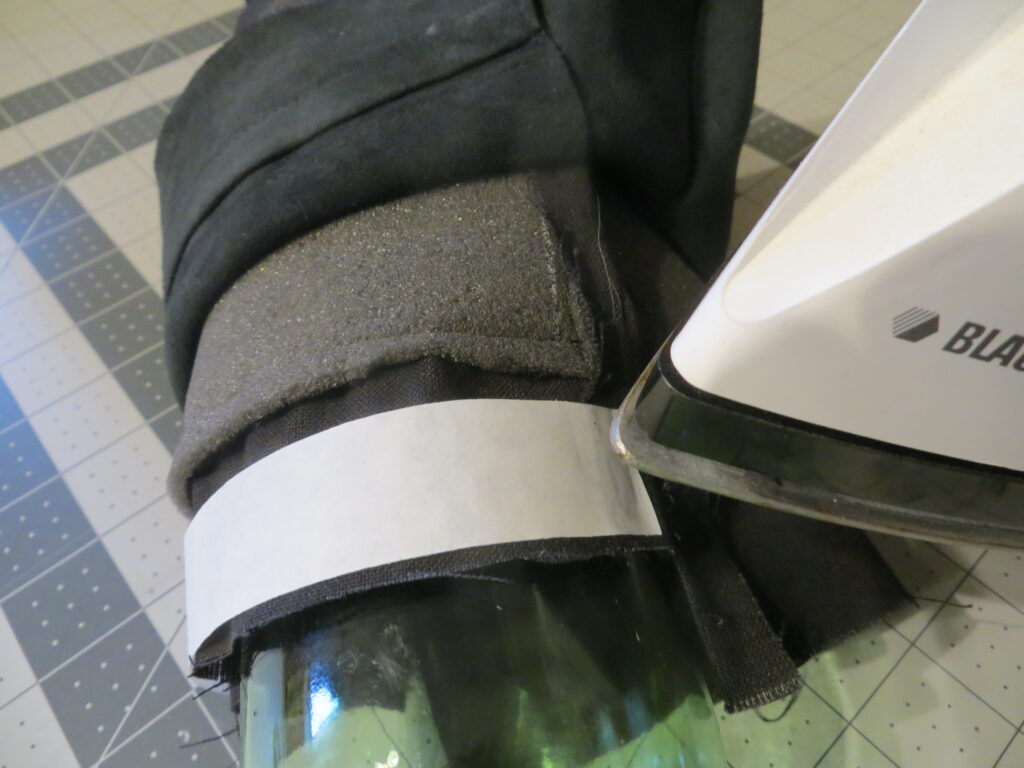
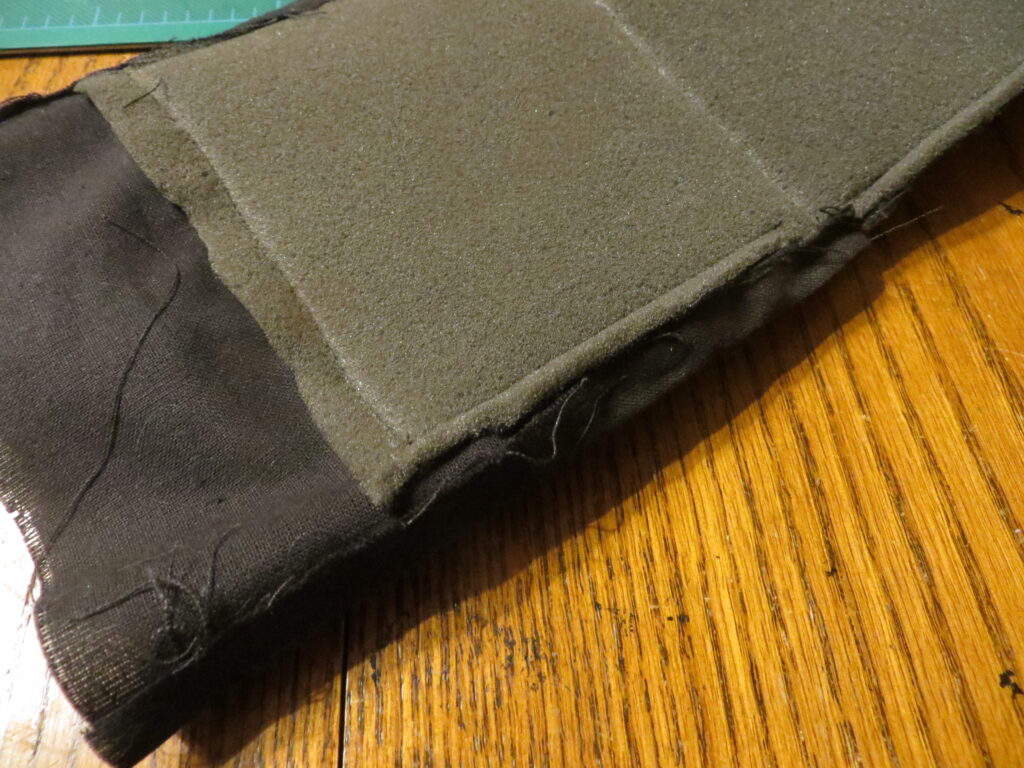
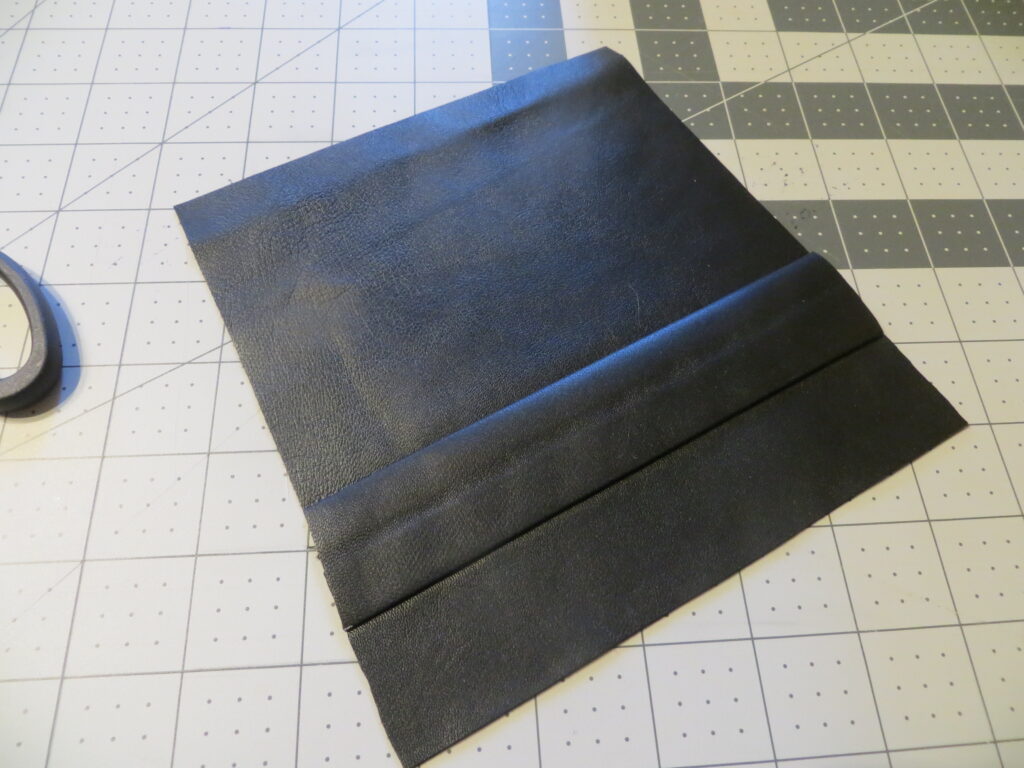
The final part I need to finish is the “flap” parts…

The leather will get trimmed a bit here…

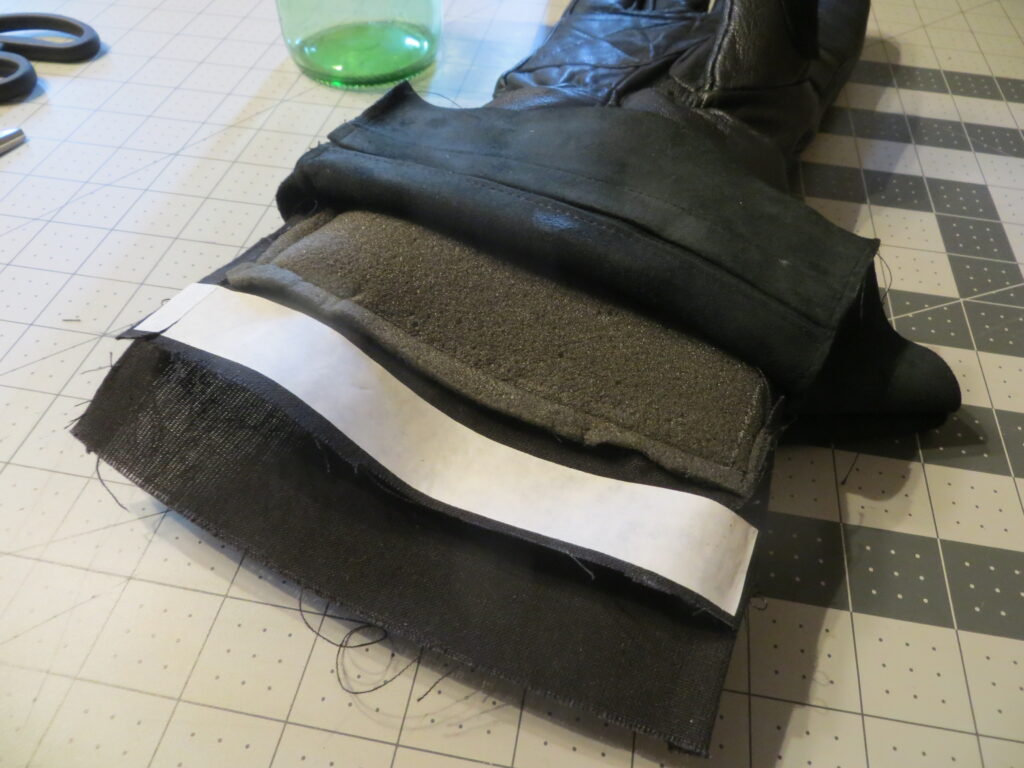
Then, HeatBond is applied…

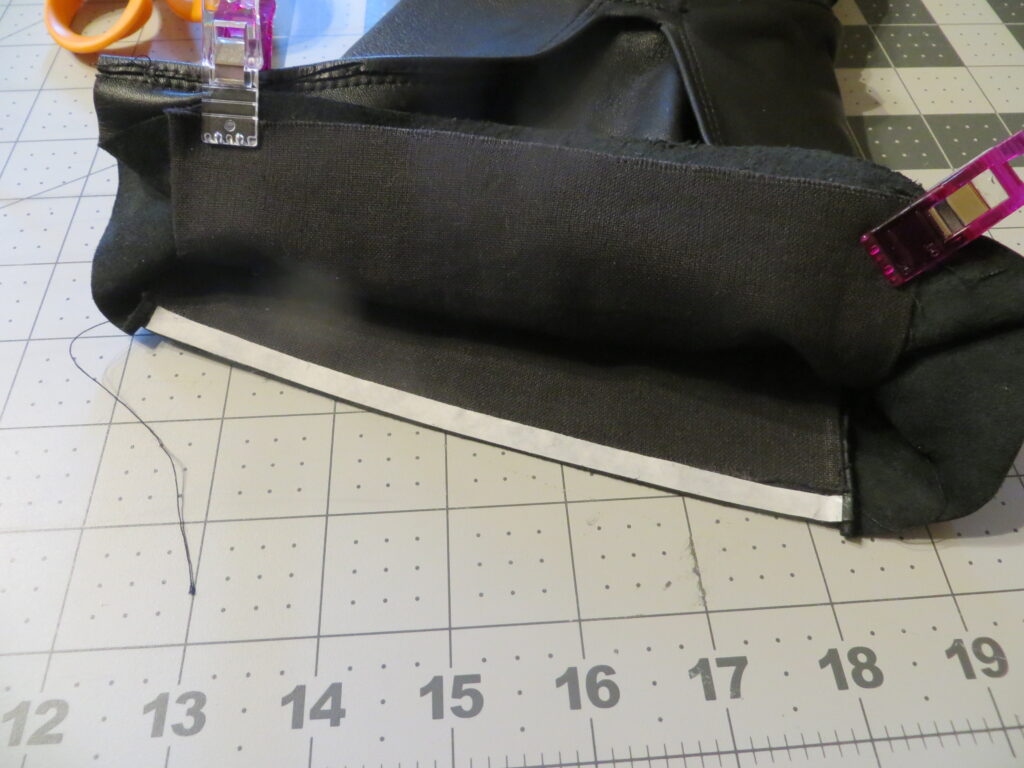
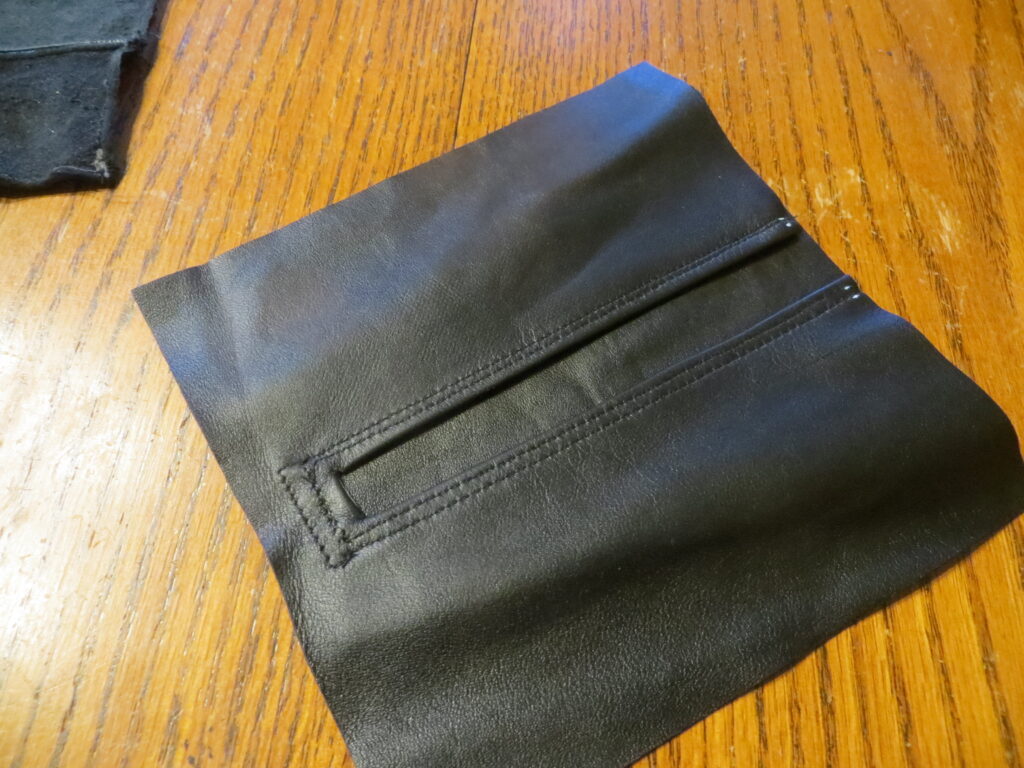
And, the hem is folded over, pressed, and stitched…

Then, the same is done for the other side…

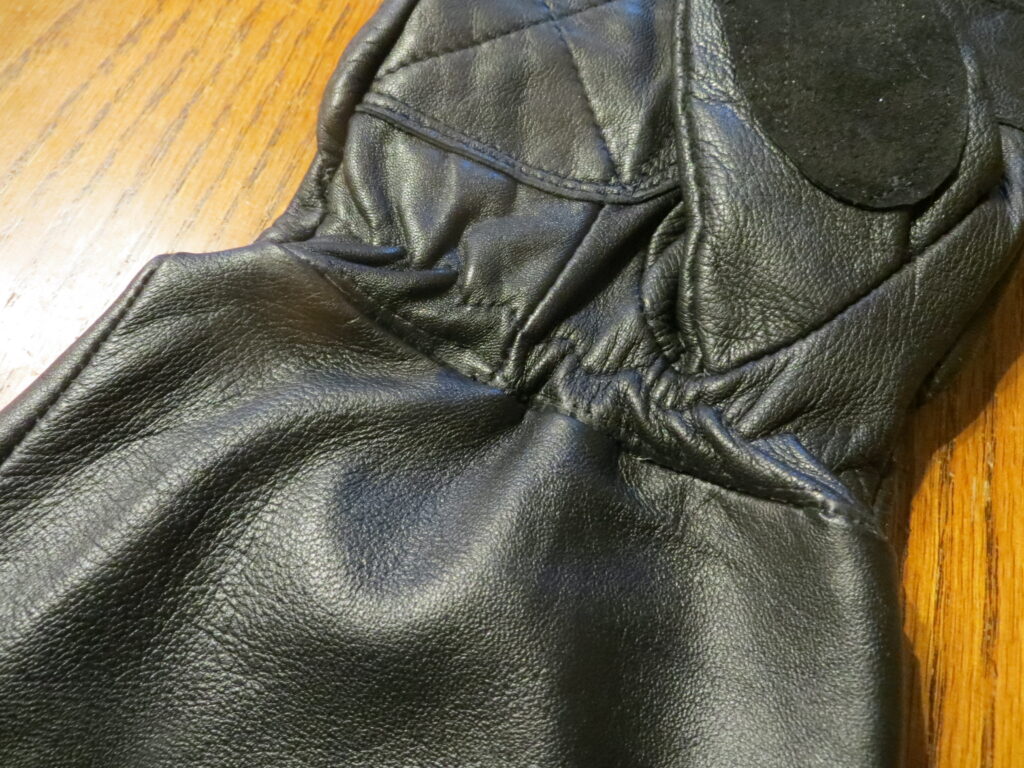
And, we finally have one completed Glove…

Quite the difference, I’d say…

The first Glove took me about seven days to complete. I figure the next one should hopefully go a lot faster, since I’ve learned a lot of shortcuts, and already have a working template. Let’s get to work…

The second glove, deconstructed…

Scout Trooper – Gloves – Reconstruction, Continued

Let’s Make These Screen Accurate…

Still making progress…

This area of the side of the Glove looks strange, so I redid it couple of times, until I was happy with it…

Re-sewing that area…

I plan to reuse the Glove liners, but they’ll need to me modded, as well…

The first thing I’ll need to do is reduce the “flare” at the end…

I just restitched new side lines…

And then trimmed off the excess…

Because the gauntlets are longer, I’ll need to extend the liner a bit…

I’m just adding some black cotton cloth…

I stitched the edge to the inside of the existing liner…

And then ran another stitch near the end of the old liner…

How it looks on the inside…

Then I repeated the process for the other side…

Then both sides were lined up and pinned…

Then, sewn…

Before permanently installing the liner, I made one last check of all of the seams. I found a few small spots that needed attention…

This looks a bit weird, too…

And, this small seam keeps popping out…

I used a needle & thread to strategically pinpoint and fix this…

As well as this…

This seam was ripped out and redone. Looks a lot better with less puckering…

I then cut some thin strips of HeatBond to use to tack the seam material back out of the way…

This helped tidy up the inside and leaves less material to get in the way, or in places where it shouldn’t be…

Scout Trooper – Gloves – Reconstruction, Continued

Let’s Make These Screen Accurate…

Still making progress…

Transferring the gauntlet back pattern to the leather…

The new leather piece…

To incorporate the folding details, I used a white Sharpie to make a mark on the leather where the first fold needs to occur…

Comparing the leather piece to the sample piece…

The seam was heat pressed…

And then sewn…

As you can see here, that stitched seam is hidden…

After completing the top part of the fold detail, the bottom part gets a tight finishing stitch line…

The top part is supposed to appear “unattached” so no more stitching…

Here are the finished back and front pieces. When completed, they should be the same size…

The gauntlet parts have been put together…

Testing the front look/fit with the main Glove…

Testing the back look/fit with the main Glove…

Getting everything lined up for final attachement…

Sewing the gauntlet to the main Glove…

The new gauntlet as viewed from the front side…

The new gauntlet as viewed from the back side…

The original Glove on the left, and my modded Glove on the right…

The original Glove on the left, and my modded Glove on the right…

Scout Trooper – Gloves – Reconstruction, Continued

Let’s Make These Screen Accurate…

Still making progress…

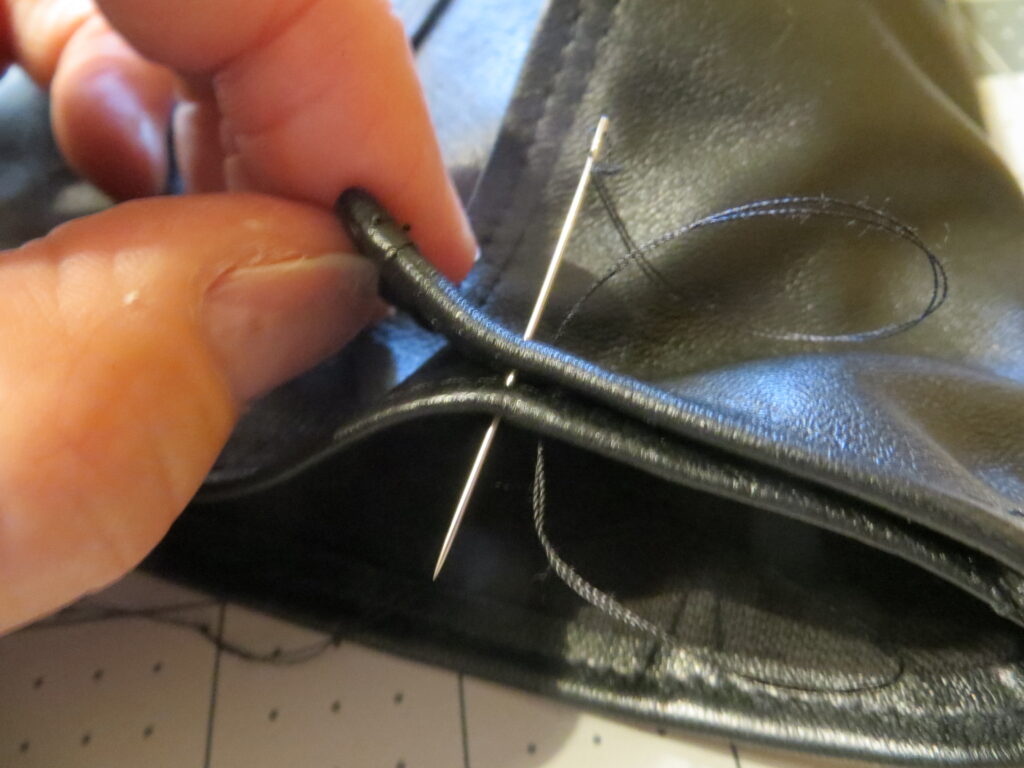
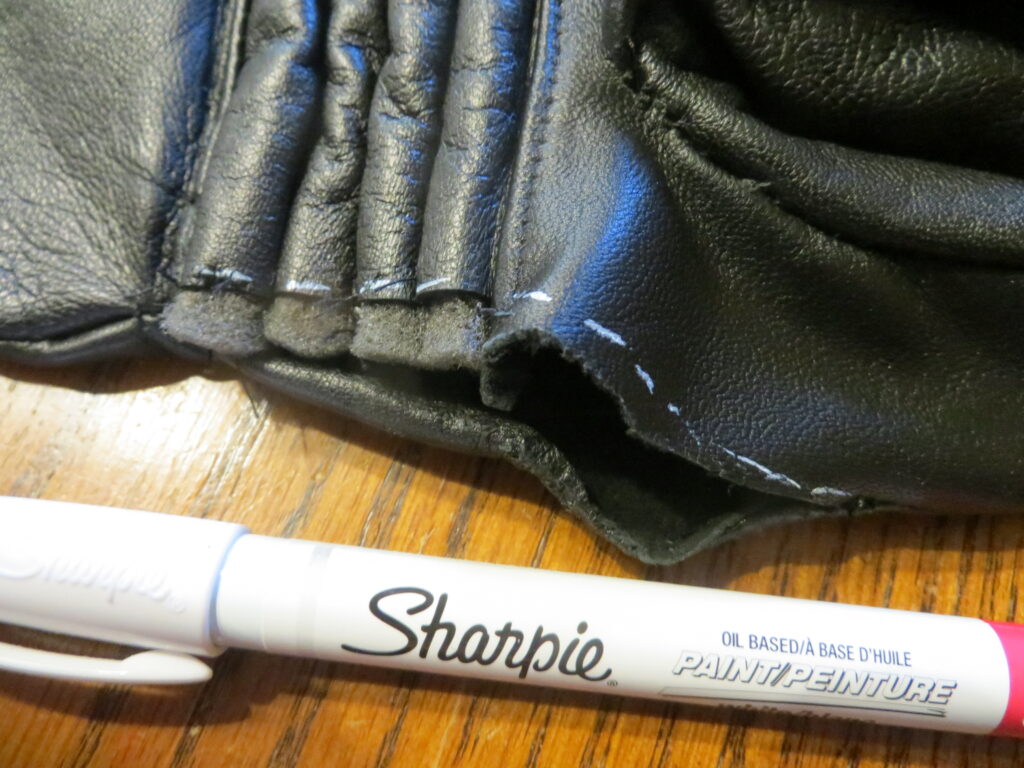
To help know how far I need to sew, I used a white Sharpie to make some marks on the leather…

The problem seam has been resewn…

Now, on to the gauntlet…

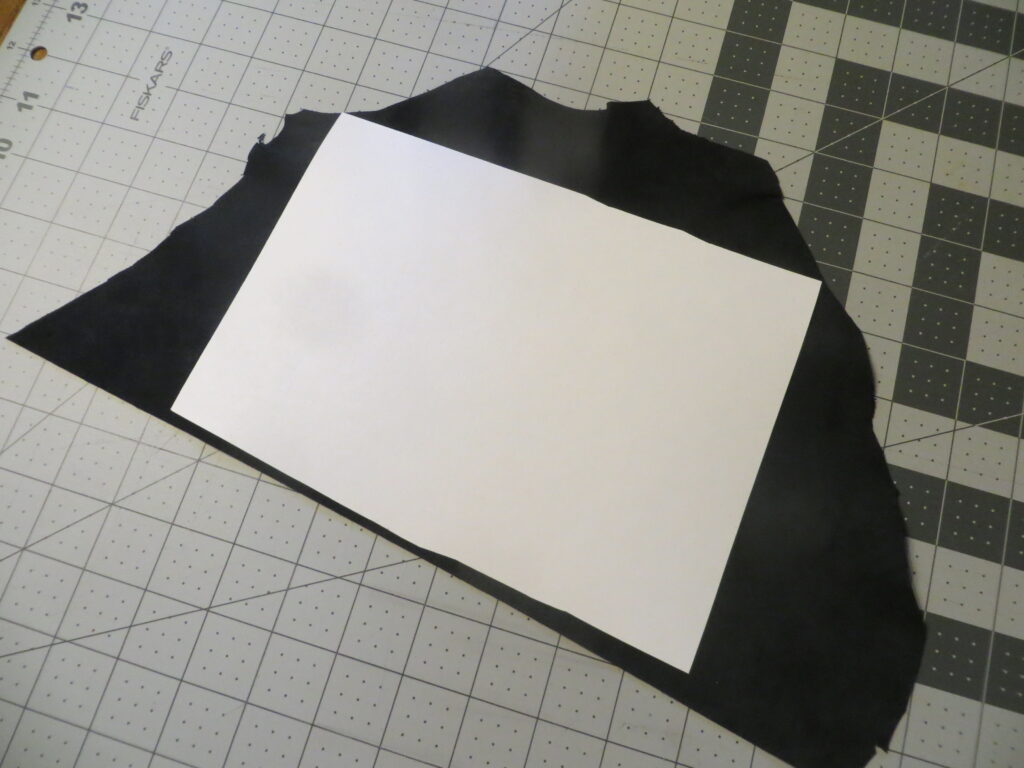
I can’t reuse these, but I can use them to help get an idea of how big the new ones need to be…

Basically, I need this shape, just “stretched longer”…

I gathered my supplies…

And began sketching…

The original screen used gloves had zippers that were removed on the gauntlet fronts. The zippers were used to widen the cuffs. I want to emulate that functionality, so I’m adding in the extra leather that the usual Glove makers don’t include…

This is the shape I’m guessing the expandable leather has…

The expandable part sits behind the front panel…

This is what it looks like from the front, where the zipper would have been…

And, here’s the part, fully open…

Transferring the pattern to the leather…

The new leather piece…

Transferring the gauntlet front pattern to the leather…

The new leather pieces as viewed from the back side…

The new leather pieces as viewed from the front side…

Sewing the new leather pieces together…

The first stitch line completed…

And the second stitch line completed…

The working expansion flap…

Test fitting the gauntlet front to the rest of the Glove…

The back side of the gauntlet has a folded detail. So, to keep it as simple as possible, I came up with a new one piece pattern that I hope will work…

The leather will just get folded and sewn to emulate the detail…

The final template…

Scout Trooper – Gloves – Reconstruction, Continued

Let’s Make These Screen Accurate…

Still making progress…

The final finger to be sewn…

I found it’s easier to use a needle & thread to stitch up the finger ends first, then stitch up the rest on the machine…

Comparing the old Glove to the new…

Here are some spots I need to go back in and fix…

Here as well…

To fix, it’s easiest just to rip the seam and try again…